September 20, 2026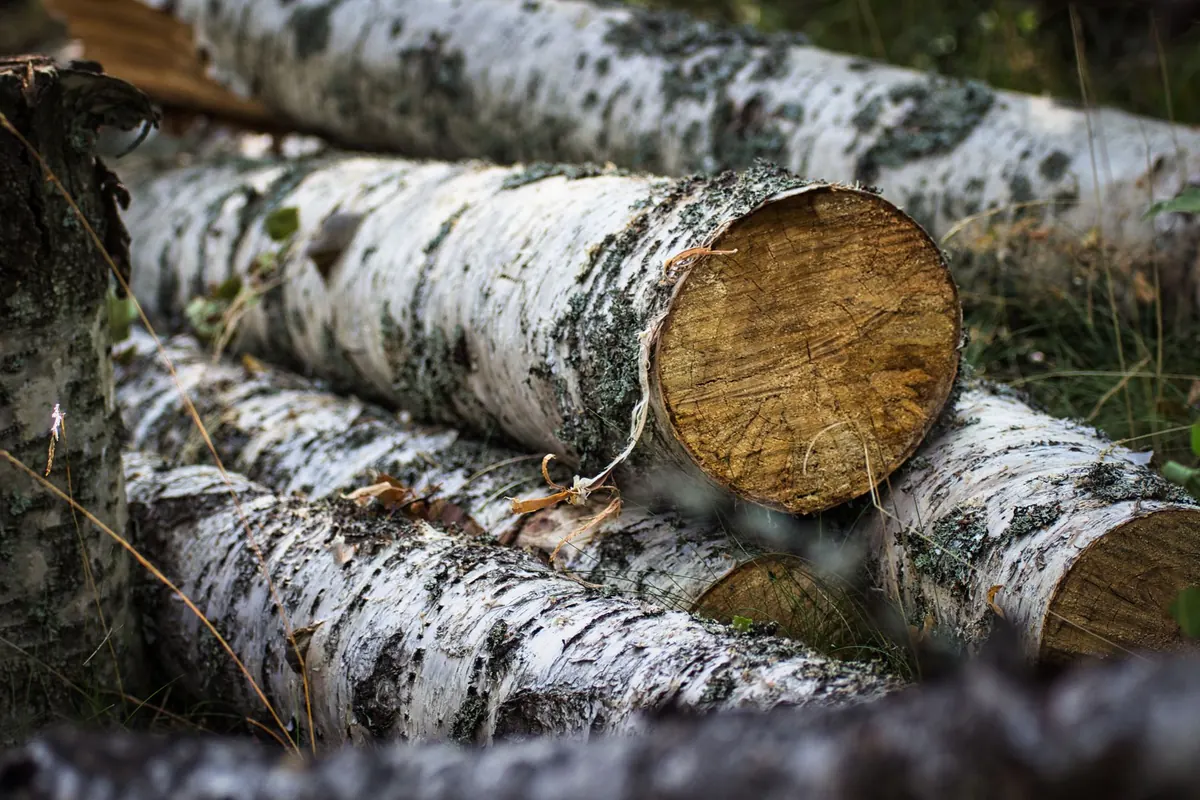
A birch log that has lain in the wood for a season already looks like a planter waiting to happen: pale bark, a soft curve, a hollow beginning to form at one end. Take the idea a step further and you have one of the most forgiving projects in woodland craft. One decent log, a free weekend, a willingness to make a mess with shavings. What you end up with is a planter that looks as though it grew where you put it, holding the ferns, violets and wood anemones that would far rather live in cool shade than on a sunny windowsill.
Choosing the right birch log
Look for a log between 30cm and 45cm across, and at least 40cm long. Smaller than that and it dries out by mid-afternoon; much larger and it becomes a two-person job to shift once it is full of compost. Silver birch (Betula pendula) and downy birch (Betula pubescens) both work well — thin papery bark, pale close-grained wood, and a tendency to hollow out cleanly with a sharp gouge.
The wood is not durable outdoors, so expect a few seasons from an untreated log before it softens and splits. That is part of the appeal. A planter that weathers, silvers and eventually returns to the leaf litter fits a woodland garden far better than a plastic tub that lasts thirty years.
Ask a woodland owner or a tree surgeon who has been felling birch, or raid your own firewood stack. Never cut a standing tree without the landowner's permission, and check whether the work requires a felling licence before you start. Older, well-seasoned logs are easier to hollow, but reject anything that crumbles under a thumbnail or has a spongy, collapsing core — that log is already on its way back to the soil.
Tools and materials
- A birch log, sawn flat at both ends with a clean, level base
- Chalk or a pencil and a straight edge for marking the opening
- A large gouge or adze, plus a mallet — the traditional combination
- A club hammer and a wide chisel for tidying the walls
- A bowsaw or chainsaw for roughing out, if you are confident with one
- An 8–10mm wood bit and drill for drainage holes
- Leafmould or peat-free compost, garden loam, and horticultural grit
- Gloves, eye protection and a tarpaulin to catch the shavings
Hollowing the log
Work on a firm surface at a comfortable height — a pair of trestles or a sturdy bench, not the ground. Bent over a log in wet grass, you will rush the job and spoil the rim.
- Mark the opening. Chalk an oval or circle roughly 5cm in from the bark edge. That margin becomes your rim, and it is what stops the finished piece looking like a discarded bucket.
- Rough out the waste. With a gouge and mallet, or a chainsaw if you are trained and comfortable using one, cut a series of parallel channels across the marked face, down to about 15cm. The channels give your chisel somewhere to bite.
- Lever out the chips. Work from the centre outwards, lifting blocks of wood rather than trying to carve a smooth bowl in one pass. Birch cuts sweetly when it is green and fights you a little when it is dry; either way, let the tool do the work.
- Stop at the right depth. Leave roughly 5cm of solid wood in the base. Any thinner and the log will crack along the grain the first time it freezes.
- Tidy the walls and rim. Pare the inside smooth with a wide chisel, then chamfer or sand the rim so it does not splinter in your hand.
- Char the interior lightly with a small blowtorch if you want to slow the rot. Scorch the surface to a thin brown crust, don't set it alight, and let it cool completely before you go anywhere near compost.
Drill five or six drainage holes straight up through the base from underneath, angled slightly outwards so they do not clog. Then stand the log on two short offcuts or a few flat stones. Air moving underneath keeps the base drier and adds years to its life.
Compost and planting
Woodland plants want humus-rich ground that holds moisture without going sour. Mix roughly two parts leafmould or peat-free multipurpose compost, one part garden loam, and one part grit or coarse bark fines. Fill to within 3cm of the rim, firm gently, and water before planting so the compost settles.
Good candidates for a shaded log planter include hart's tongue fern, lady fern, wood anemone, wood sorrel, primrose, dog violet, bugle, wild garlic and Solomon's seal. Native bluebells work beautifully, but buy cultivated bulbs rather than lifting them from a wood — digging wild plants is damaging and, in most cases, against the law. The same applies to everything else on that list: nursery-propagated stock or divisions from your own garden, never a spade in a hedgerow.
Plant in autumn or early spring, when the soil is cool and damp and roots are active. Group three or four small plants rather than one large one; a hollowed log is a small stage, and a single clump will look lost. Water everything in, then leave it alone for a fortnight.
Looking after it through the year
The first summer is the testing one. Check the compost weekly with a finger and water when it is dry a couple of centimetres down — a log planter holds less volume than it appears to, and it dries from the sides as well as the top. Slugs will find it; a torch after dark is more effective than any pellet. Top up the compost each autumn with a handful of leafmould, and trim spent foliage in late winter before new growth starts.
Siting your planter
Put it where the woodland already does the work: dappled shade, ideally with a little morning sun and shelter from the worst of the wind. Beside a path, at the foot of a tree, or on a gravel apron by a shed door all suit it. Turn it occasionally so the shaded side of the planting gets its share of light, and let the bark weather to silver. Within a season the ferns will arch over the rim, the violets will seed into the moss around the base, and the join between log and garden will disappear entirely.
Photo: Ville Aalto / Pexels